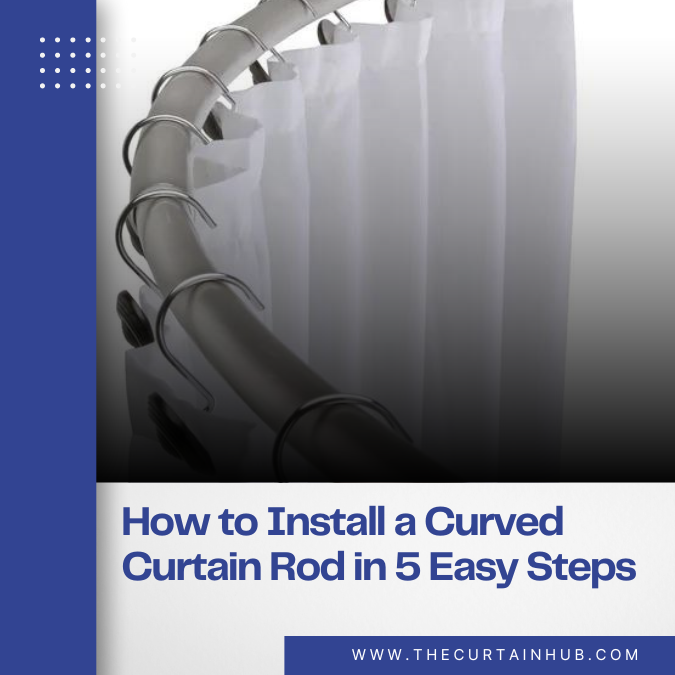
How to Install a Curved Curtain Rod in 5 Easy Steps
How to Install a Curved Curtain Rod in 5 Easy Steps
Installing a curved curtain rod can dramatically enhance the aesthetics of a room, providing a sleek, modern look while also creating the illusion of more space. Whether you’re looking to hang curtains over a bay window, in a bathroom, or across any other curved area, a curved curtain rod is a stylish and functional solution. In this comprehensive guide, we will walk you through the process of installing a curved curtain rod in five easy steps.
1. Gather the Necessary Tools and Materials
Before starting the installation, it’s essential to have all the necessary tools and materials at hand. Proper preparation ensures a smooth installation process and prevents unnecessary interruptions. Here’s what you’ll need:
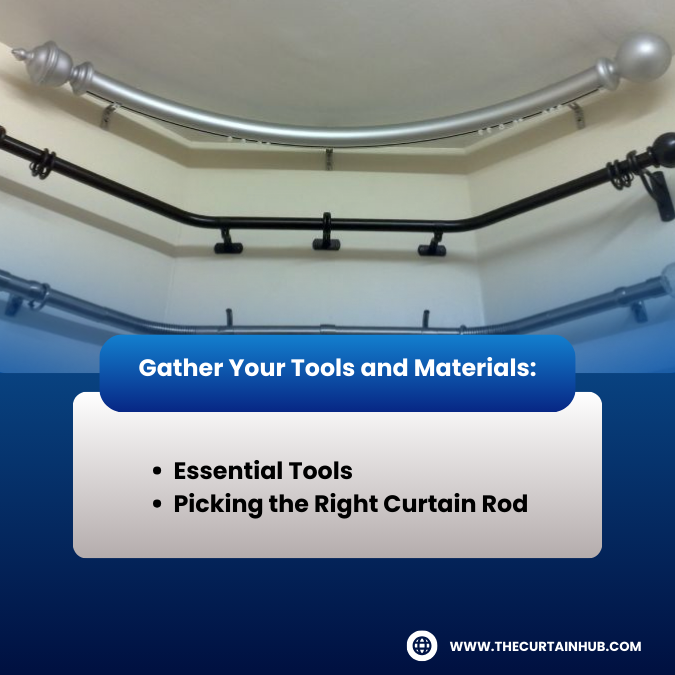
- Curved Curtain Rod Kit: This typically includes the rod, brackets, screws, and other necessary hardware.
- Measuring Tape: To ensure accurate measurements.
- Pencil: For marking positions on the wall.
- Level: To make sure your rod is installed straight.
- Drill and Drill Bits: to create openings in the wall.
- Screwdriver: To tighten screws and secure the brackets.
- Wall Anchors (if needed): Useful if you’re installing on drywall or plaster.
2. Measure and Mark the Placement
Accurate measurements are crucial for a successful installation. Follow these steps to ensure your curtain rod is installed in the right position:
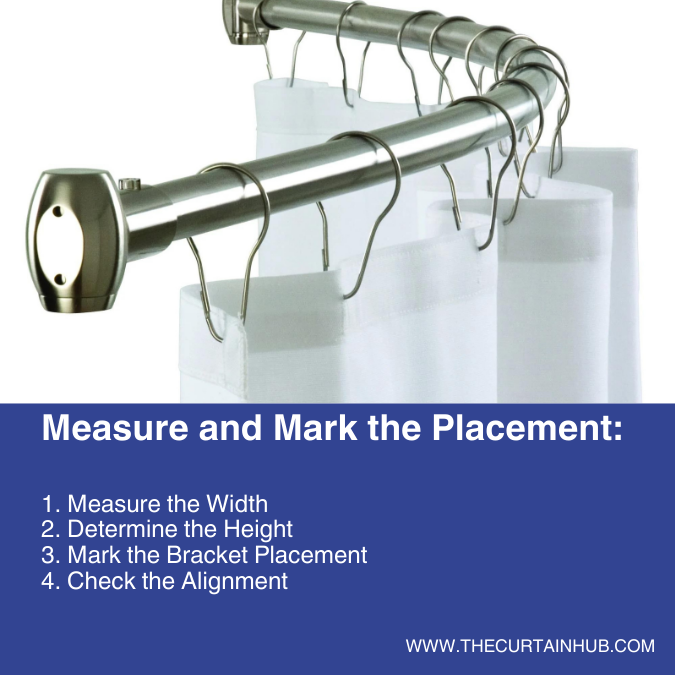
- Measure the Window or Space: Begin by measuring the width of your window or the area where you plan to install the curtain rod. Add a few extra inches on both sides to allow the curtains to hang freely when opened.
- Determine the Height: Decide on the height at which you want to install the curtain rod. Typically, placing the rod 4-6 inches above the window frame is ideal for a balanced look. However, you can adjust this based on the height of your curtains and the desired effect.
- Mark the Bracket Positions: Using a pencil, mark the spots on the wall where the brackets will be installed. Ensure that the marks are level by using a level tool.
3. Install the Brackets
With your placement marked, it’s time to install the brackets that will support the curved curtain rod. Here’s how to do it:
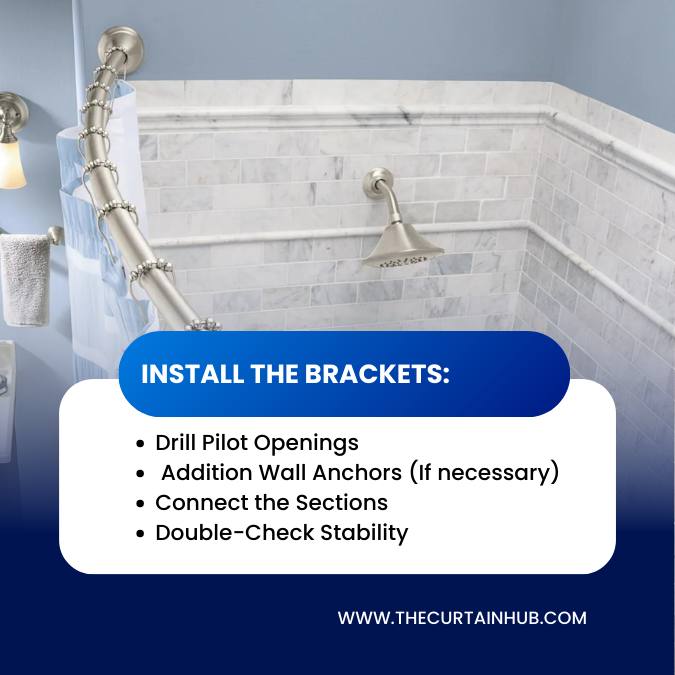
- Pre-Drill Holes: Using a drill, pre-drill holes into the wall at the marked spots. If you’re installing the rod on drywall or plaster, use wall anchors to provide additional support. This step is crucial for ensuring that the rod can hold the weight of your curtains.
- Attach the Brackets: Align the brackets with the pre-drilled holes and secure them to the wall using screws. Use a screwdriver or a drill to tighten the screws. Make sure the brackets are securely fastened, as they will bear the weight of both the rod and the curtains.
- Check Alignment: After installing both brackets, use a level to ensure they are perfectly aligned. Misaligned brackets can cause the curtain rod to hang unevenly.
4. Assemble and Install the Curved Rod
Now that the brackets are in place, it’s time to assemble the curved curtain rod and install it:
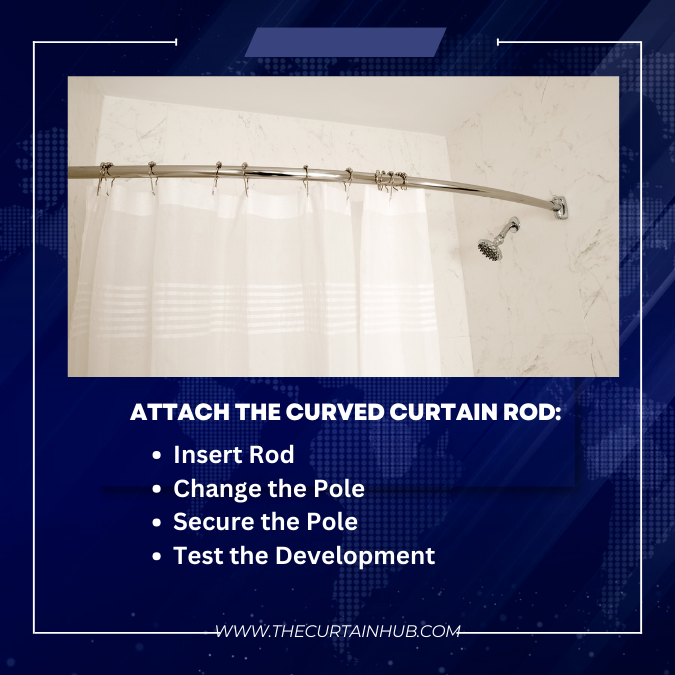
- Assemble the Rod: If your curtain rod comes in multiple pieces, assemble them according to the manufacturer’s instructions. This may involve sliding sections together or securing them with screws.
- Attach the Rod to the Brackets: Carefully place the assembled rod onto the brackets. Depending on the design of your rod, this may involve sliding the rod into the brackets or resting it on top. Ensure that the rod is secure and can support the weight of your curtains.
- Adjust the Rod: Some curved rods allow for slight adjustments in length. If necessary, adjust the rod to fit the space perfectly.
5. Hang Your Curtains
With the rod securely in place, the final step is to hang your curtains. Here’s how to do it:
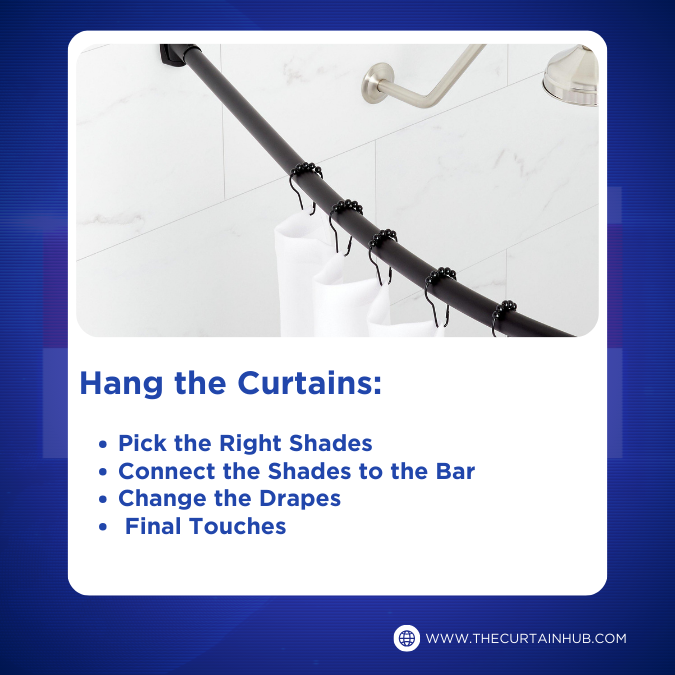
- Prepare the Curtains: If your curtains have wrinkles, consider ironing or steaming them before hanging. This will give them a polished look once they’re in place.
- Slide the Curtains Onto the Rod: Depending on the design of your curtains, you may need to slide them onto the rod before securing the rod in place. If your rod has finials (decorative ends), ensure they are securely attached after the curtains are in place.
- Adjust the Curtains: Once the curtains are hung, adjust them so they drape evenly on both sides. Take a step back and ensure the curtains hang smoothly and that the rod is still level.
Final Touches
After hanging your curtains, take a moment to ensure everything is in order:
- Check for Stability: Gently tug on the curtains to ensure the rod is securely fastened and the brackets are holding firm.
- Align the Curtains: Ensure that the curtains are evenly distributed across the rod and that there are no gaps at the top.
- Add Decorative Finishes: If your rod comes with decorative finials or other accents, now is the time to attach them.
Conclusion
Installing a curved curtain rod might seem like a daunting task, but by following these five easy steps, you can achieve a professional-looking result with minimal effort. Whether you’re updating your living room, bedroom, or any other space, a curved curtain rod can add a touch of elegance and style. Remember, the key to a successful installation is careful measurement, the right tools, and taking your time to ensure everything is perfectly aligned.


